|
Creating Monitor Profiles |
Previous Top Next |
The monitor application uses monitor profiles to connect to computers running either the HermeTech HL7 message listener service or the HermeTech HL7 message router service. In the monitor application you can create multiple 'monitor profiles' that, when selected, allow you to view the real-time statistics of the service you are monitoring. If your organization has a test server and a production server, you could create a monitor profile for each and view the activity from either server from your own workstation on the network.
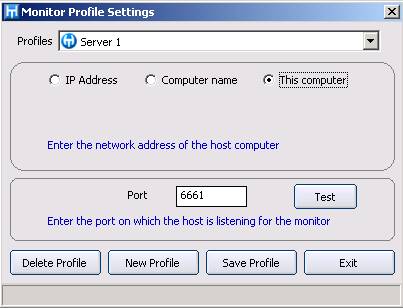
From the 'Tools' menu in the monitor main window select 'Maintain Profiles' to open the 'Monitor Settings' window (this menu is disabled while you are actively monitoring a service). When you start the monitor application for the first time, this window is shown automatically. Example 1 shows a monitor profile called 'Server 1' which is set up to communicate with a HermeTech HL7 Message Listener service running on the local computer via monitor listening port 6661.
example 1: monitor profile settings window
example 1: monitor profile settings window
To delete an existing profile click 'Delete Profile'. If you make changes to a profile click 'Save Profile' to save those changes to disk.
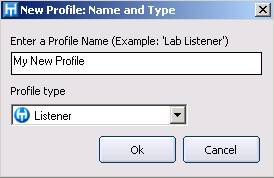
To create a new profile click the 'New Profile' button to open the 'New Profile' window. Type a descriptive name in the box provided and select the profile type (Listener for HL7 Message Listeners or Router for HL7 Message Routers). For this application you will always choose 'Listener'.
example 2: new profile window
example 2: new profile window
Click 'Ok' when completed. A new profile has now been created, but is not ready to be used yet. You must identify the computer which is running the service, and which port the service is using on that computer to communicate with monitor applications (see Configuring Your System).
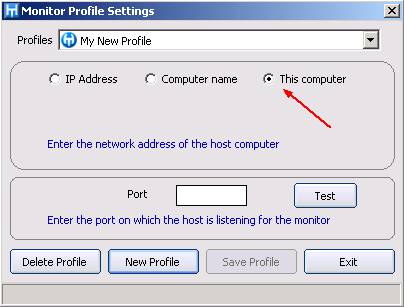
example 3: monitor profile settings window
example 3: monitor profile settings window
By default (as shown in example 3 above) new profiles are assumed to be communicating with a service running on the same computer. To connect to a remote computer either click 'IP Address' to enter a TCP/IP address for the remote computer or click 'Computer name' to browse for another computer on your network which is running the service.
example 4: connect via an IP address
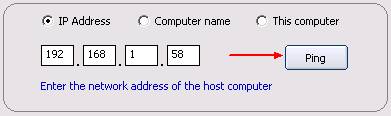
*click the 'Ping' button to verify an IP address
example 4: connect via a computer name
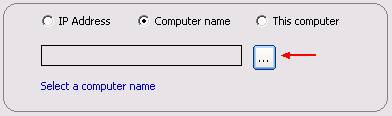
*click the '...' button to browse for computers
After identifying the computer you wish to monitor, enter the port number which the service running on that computer is using to communicate with monitor applications (see Configuring Your System). If the service is currently up and running on the host computer you selected above, you can click the 'Test' button shown in example 5 below.
example 5: the port number

*NOTE* Remember that the port number you are entering here is the MONITOR listening port that you entered when configuring the listener service itself (see Configuring Your System).