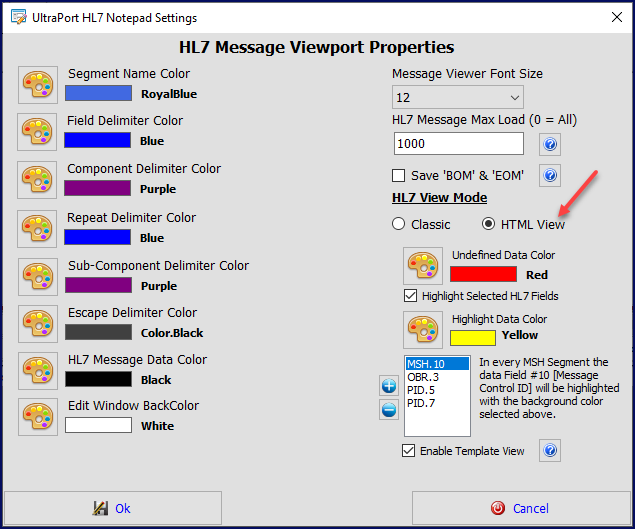
Customize the look and feel of your HL7 Notepad in the program settings window.
In addition to setting the HL7 syntax highlighting colors used in the editor window (just click any of the "color palettes" to change the color) there are several other settings which can have an impact on the way your notepad looks and performs.
•Message Viewer Font Size. Select the size of the font the WYSIWYG editor windows should use. You cannot change the font itself which is Courier New.
•HL7 Message Max Load (0 = All). When you open an HL7 data file the system will only load up to <Message Max Load> messages into the message store. Enter a 0 here and the notepad will attempt to load every message in the file. The impact of this setting will vary from system to system and depends heavily on what SIZE HL7 message files you are trying to open. Even on older computers with less than 2 GB RAM the notepad should have no trouble loading files with 5, 10 or even 20,000 HL7 messages in just a few seconds. However, it's important to remember that the size of your message store is limited to available system resources. The "default" value for this setting is 1000. If you do need to view very large files with tens or hundreds of thousands of messages in them, we recommend that you experiment with this setting to come up with a reasonable upper limit which both your system (performance and memory wise) and yourself (patience wise) can tolerate.
•Save 'BOM' and 'EOM'. This setting determines whether when Saving HL7 data files OR Exporting HL7 data to files or folders the system will include the HL7 message enveloping characters the 'BOM' and 'EOM'. These characters values are stored in the HL7 Version Definitions.
•Classic or HTML View. Starting with version 4.0 you can choose between 2 different ways to view HL7 messages in the main window, Classic View or HTML View.
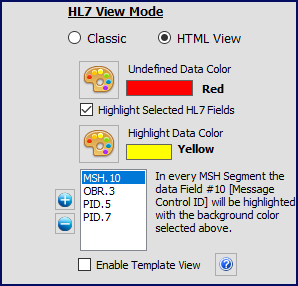 HTML View Settings
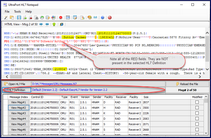
•Undefined Data Color. Select a color here (the default is RED) and in the Main Window viewport any HL7 Segments, Fields, or Components of Fields which are NOT part of the selected HL7 Definition will have the text appear in that color.
•Highlight Selected HL7 Fields. If checked you can choose a Highlight Color (the default is YELLOW) and also add HL7 field designations (use
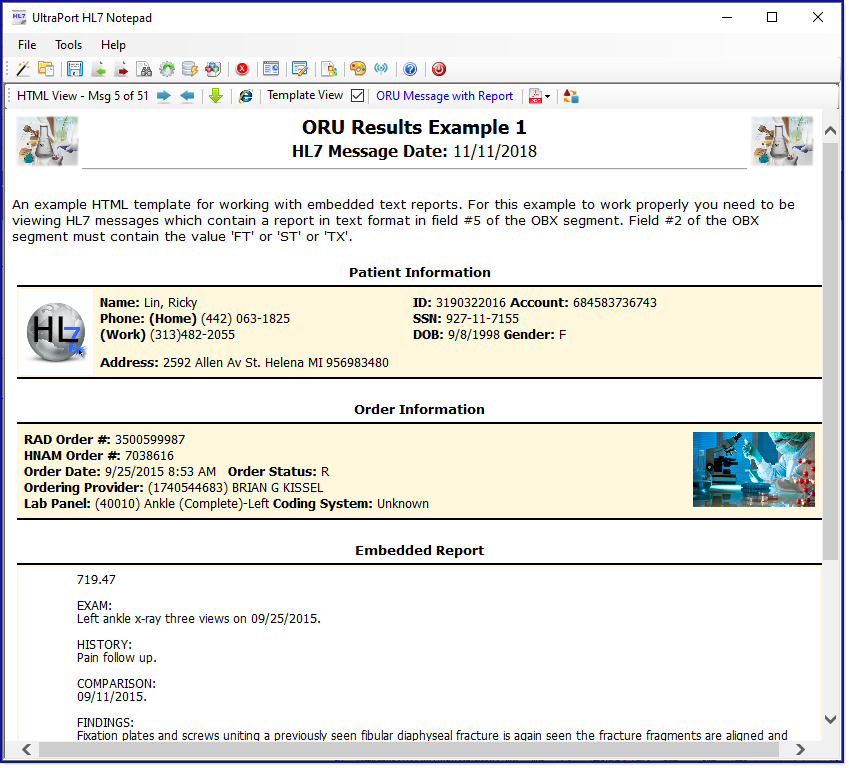
•Enable Template View. This one is very cool. If you check this box AND you have created a HTML HL7 Document you can actually view your HL7 message(s) as a rendered HL7 document in the main window. See Template View for more information.
|
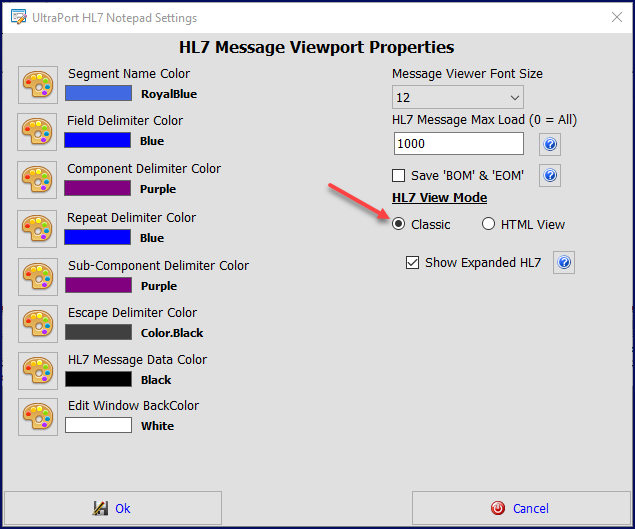
•Show Expanded HL7. By default the WYSIWYG editor will show the HL7 in "Expanded" mode, meaning that ALL possible HL7 fields and components are shown whether they contain data or not. Turning this setting off will cause the WYSIWYG editor to display the HL7 in "truncated" mode showing only the fields and components which contain data. See the examples below.
 Example with 'Show Expanded HL7' turned on
 Same example with 'Show Expanded HL7' turned off
|
.

 and
and  buttons). In practice you will see the BACKCOLOR for those field designations will reflect the color you selected. As you can see in the HTML View Settings screenshot above we have set MSH.10, OBR.3, PID.5, and PID.7 (the Message Control ID, Filler Order Number, Patient Name, and Patient Date of Birth) as our highlighted fields (designations are entered as <SEGMENT>.FIELD# so MSH.10 = MSH Segment Field #10). Click the Undefined Fields screenshot above to see this in action with those fields highlighted in YELLOW.