Generating Documents from HL7 Messages
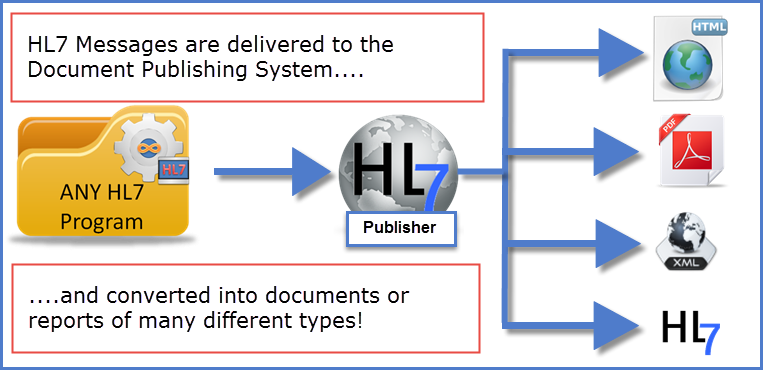
New in version 2.5 - Publish HL7 Documents! Use your HL7 Postmaster to create incredible custom documents and reports from your HL7 messages, and it's really pretty simple to do as well. Make sure that you have (or purchase) the correct license to use the HL7 Documents functionality (see Postmaster Licenses to verify).
|
Q: |
What are HL7 Documents? |
A: |
HL7 Documents are something completely new and different in the world of HL7 versions 2.nnn. Use "Templates" which you create using the UltraPort HL7 Notepad in the Postmaster to "Publish" individual documents in PDF or stand-alone HTMLformats created from your HL7 messages. See HERE for more information. |
1.Use the UltraPort HL7 Notepad to design and test your HL7 Document Templates.
2.Once you are satisfied with your Document Template, use the HL7 Notepad to export it to a "Stand-Alone" HL7 Template (see here for more info).
3.In the UltraPort HL7 Postmaster create a new (or use an existing) Postmaster (see Creating Postmasters).
4.Follow the instructions below and add one or more HL7 Document Destinations to your Postmaster and you are done.
To Create a New HL7 Documents Destination
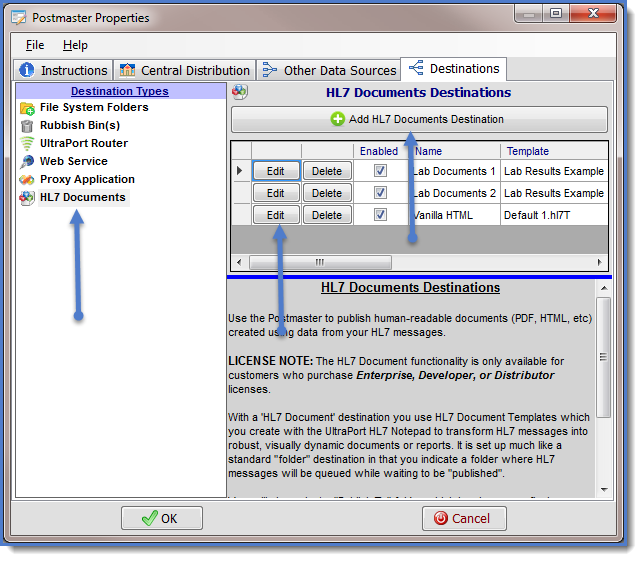
First. Edit the selected postmaster (see Creating and Editing Postmasters) and select the Destinations tab. In the Destinations tab select HL7 Documents in the Destination Types list.
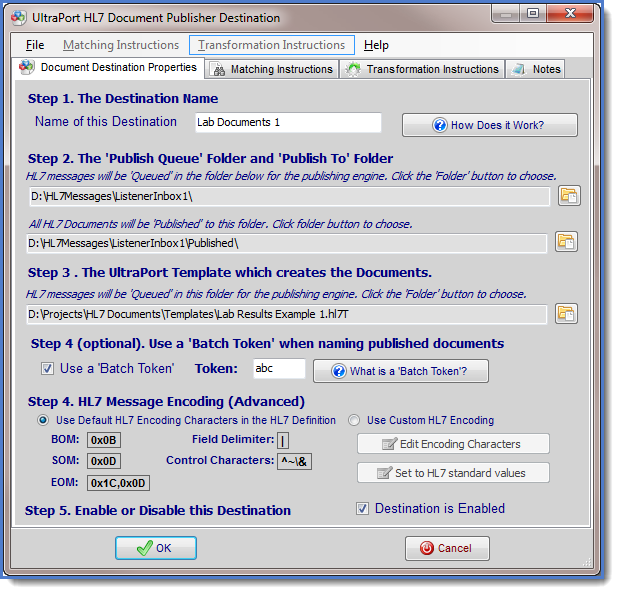
Second. If creating a new destination click the  Add HL7 Documents Destination button, otherwise click the 'Edit' button next to an existing destination in the list to open up the HL7 Documents Destination properties window. Then in the window fill out steps 1 through 5 and click
  to save your destination.
Step 1. The Destination Name. All Postmaster objects (data sources and destinations) must have a unique name. It's completely user defined, must be alpha-numeric and follows the same rules as creating a file or folder name in MS Windows.
Step 2. The "Publish Queue" and "Publish To" Folders. Click the  button to browse for the folders which this destination should use.
  Why are there two different folders in step 2? The answer is simple. In some cases (depending on the complexity of the Document) a postmaster can deliver HL7 messages to a folder a lot faster than the destination can render/publish the documents. For this reason your postmaster will deliver the HL7 messages to the "Publish Queue" folder and then move on to the next message being delivered. A separate processing thread in the destination will process messages in the "Publish Queue" folder. Another reason might be that you want ALL documents from ALL HL7 Documents destinations to be published to a single "Publish Queue" folder but they are being created from multiple HL7 Document Templates (see Steps 3 and 4a).
Step 3. The UltraPort Template which creates the Documents. Click the  button to browse for the UltraPort HL7 Document Template (*.hl7T) file which contains the template to use. These are "Stand-Alone" templates created with the UlraPort HL7 Notepad
 .
.  TIP: If you're going to be creating multiple document destinations using different templates, it would be a good idea to have 1 folder where you store those template files.
Step 4a. (Optional) Use a "Batch Token" when naming published documents. When the destination publishes documents into the "Publish To" folder it uses the "File Naming Rules" which are part of the Template object to name the files (see the Publisher Settings section of the online help for creating templates). The "Batch Token" is a 1 to 4 character value which you can enter. If used it will be used in conjunction with the "File Naming Rules" of the Template when naming published document files. If present it will be used as the LAST node of the file name.  When do I need to use a batch token? You might want to use a batch token if you have multiple document destinations which use the SAME "Publish To" folder (see Step 2 above). This way if the Templates used the multiple destinations use the SAME "File Naming Rules" and there is even a remote chance that 2 destinations might come up with the SAME file name for a published document, then simply entering a different, unique batch token into each destination will prevent the possibility of that happening.
Step 4b. HL7 Message Encoding (Advanced). The HL7 Encoding characters instruct HL7 parsers in how to properly "read" an HL7 message. Changing this from the default is RARELY needed. A good general rule of thumb is this test: If you don't KNOW whether or not you need to change the HL7 Message Encoding then you don't need to change it, and you should just leave it as the default.
Step 5. Enable or Disable this Destination. Check the box to enable the destination, uncheck it to disable the destination.
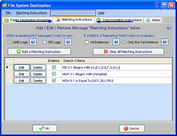
Extended Feature (Optional): You can enter Matching Instructions to filter the HL7 messages delivered to the destination:
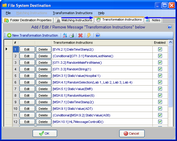
Extended Feature (Optional): You can enter Transformation Instructions to dynamically change HL7 message data BEFORE it is delivered to the destination:
See Also: What License Do I Need?

